Your first Danger 5 win comes most easily with Knight, which your Danger 4 win unlocks, or with Loud or Well-Rounded, which need no difficulty win. All three guides checked here recommend those three for Danger 5. Masochist and Crazy are next, and Soldier is a reliable ranged option. You do not need to kill the wave 20 bosses: the run is won when the wave 20 timer ends.
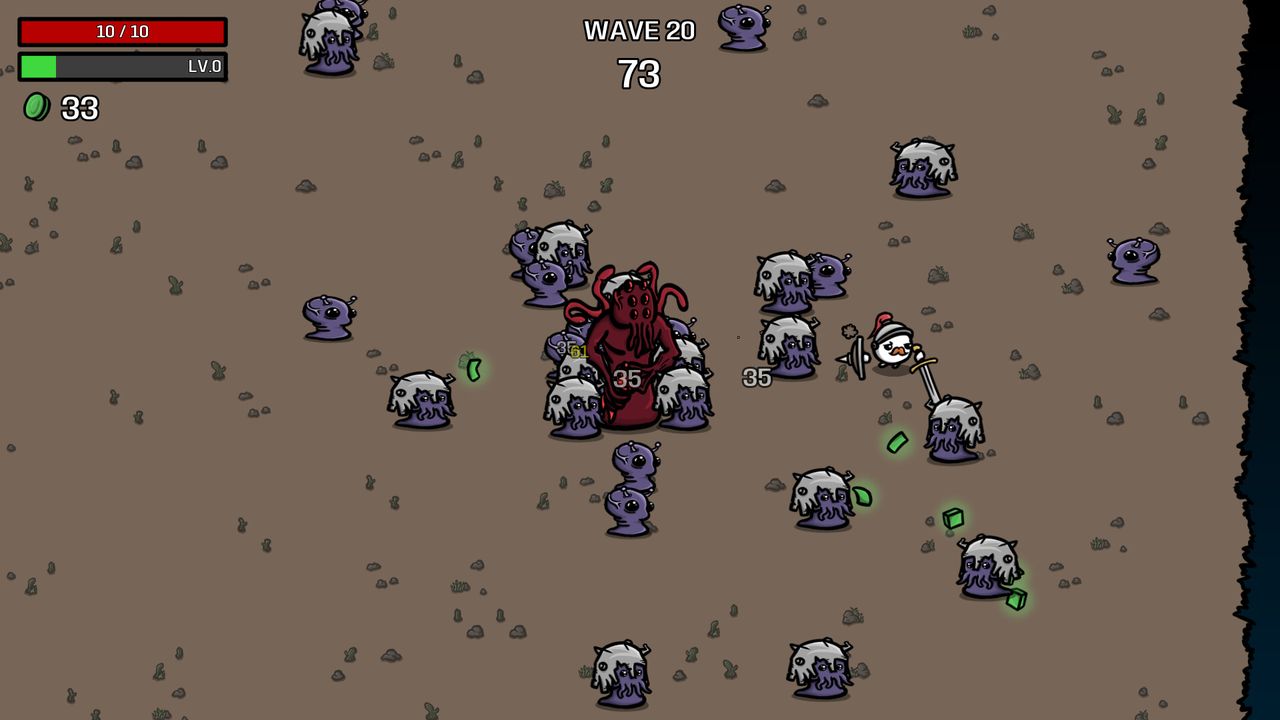
Danger 5 enemies have +40% damage and health, there are more elites and hordes, and two bosses spawn together in wave 20. See danger levels for the full list.
Characters to play first
“Sources” counts the three guides listed below that recommend the character for Danger 5. Recommendations come from before Update 1.2, and none of these characters changed in 1.2 or the 12 November patch.
| Character | Unlock | Build | Why it works | Sources |
|---|---|---|---|---|
 Knight |
Win on Danger 4 | Swords or Spears with Jousting Lances; Maces and Hammer also work. Stack Armor, take Ball and Chain. | Each point of Armor adds 2 Melee Damage, so one stat gives defense and damage. | 3 of 3 |
 Loud |
Kill 5,000 enemies | Six Slingshots, or Spears and Jousting Lances for melee. Take items that add enemies; skip Harvesting. | +30% Damage, and +50% enemies supply the materials that Harvesting would. Loud loses 3 Harvesting each wave anyway. | 3 of 3 |
 Well-Rounded |
Default | Six Slingshots, or Spears and other Primitive weapons. Early Luck and Harvesting. | No restrictions; +8 Harvesting at the start pays off over 20 waves. | 3 of 3 |
 Masochist |
Win on Danger 3 | Six Spiky Shields, Armor, Max HP, HP Regeneration. Blood Donation or Bloody Hand. | Starts at −100% Damage and gains +5% Damage per hit taken until the wave ends. Spiky Shield adds 100% to 200% of Armor as damage. Items that deal 1 damage per second trigger the passive every second. | 2 of 3 |
 Crazy |
Default | Thief Daggers or Knives, Crit Chance around 60%, Melee Damage, Armor and Max HP. | Precise weapons get +100 Range, and crits multiply their damage. Ignore Dodge: Crazy starts at −30%. | 2 of 3 |
 Soldier |
Win on Danger 2 | Revolvers or SMGs, Ranged Damage, some Life Steal or Max HP. Statue. | +50% Damage and +50% Attack Speed; he only attacks while standing still, so Statue’s +40% Attack Speed while still is always active. | 2 of 3 |
Demon is called “god mode” with Thief Daggers in one guide and “very easy” in another, but AdamsIdeas rates it Hard and it unlocks only after a Danger 5 win. Use it for later wins, when the Nightmare unlock needs Danger 5 wins with ten different characters or zones.
Each build page has the character’s full stat modifiers, the weapons ranked for those modifiers and the items to buy. The ranking assumes the same stat points for every weapon, so it will not show Knight’s Armor conversion or Masochist’s passive.
Unlock these first
Winning a run with a character unlocks an item or weapon for every later run. These are worth winning early because Danger 5 builds use them:
| Win with | Unlocks | Used for |
|---|---|---|
| Masochist (any danger) | Spiky Shield | Masochist and Golem Armor builds |
| Well-Rounded | Potato | Small boost to most stats; good on any build |
| Crazy | Hunting Trophy | Materials from crit kills |
| Jack | Giant Belt | Crits deal 10% of the enemy’s current health (1% on bosses and elites) |
| Renegade | Fairy | HP Regeneration for each different tier I item |
| Golem | Stone Skin | Max HP from Armor |
| Arms Dealer | Anvil | A free weapon upgrade each shop |
The full list is in unlocks.
Stats that decide a Danger 5 run
- Luck and Harvesting first. All three guides say to take Harvesting at the first level-ups and get some Luck early. The earlier they arrive, the more materials and better shop rarities they give over 20 waves. AdamsIdeas suggests 20 to 50 Luck. Exceptions: Loud and Knight, whose Harvesting is penalised.
- Speed. AdamsIdeas recommends at least 10 to 15% Speed on most characters. Elites and the wave 20 bosses are easier to survive by outrunning them than by tanking.
- Damage before defense, but not instead of it. A build that cannot kill a horde or an elite quickly is overrun regardless of its Armor. Attack Speed and % Damage scale every weapon, and Common Sense Gamer ranks Attack Speed first.
- Armor or Dodge. Effective HP is HP × (1 + Armor/15). One Armor point adds more effective HP than one percent of Dodge while Armor is below 84 minus your Dodge %; the armor vs dodge table and the stat calculator show the exact figures for your stats. Dodge is capped at 60% for most characters.
- Life Steal or HP Regeneration. Life Steal is better on fast weapons or ones that pierce and bounce, because it triggers per hit. Use HP Regeneration on slow weapons.
Priorities by wave
- Waves 1 and 2. Each reroll has two guaranteed weapons; waves 3 to 5 guarantee one. Reroll for the weapon you are building around while rerolls are cheap, and fill all six slots.
- Waves 1 to 8. Harvesting and Luck at level-ups, then damage. Buy Coupon, Bag, Tree and Lemonade when offered. Take Crown only before wave 15, and only when Harvesting is about ten times the wave number.
- Merging. Combine your lowest-tier copies first, and only when the shop has a replacement for the empty slot. Take a tier IV weapon offered in the shop even if it means changing the plan, unless the build depends on one weapon, as with six Spiky Shields.
- Waves 9 to 18. Move to defense and to the build’s main damage stat. AdamsIdeas stops buying Coupon, Dangerous Bunny, Anvil and Grind’s Magical Leaf after wave 17 or 18, when too few shops remain for them to pay off.
- Wave 20. Two bosses spawn together. Avoid items that increase enemy count or speed before it. If you cannot kill the bosses, kite around the edge of the map until the timer ends.
Why Danger 5 runs fail
| Problem | Fix |
|---|---|
| Die to the first elite or horde | Not enough damage. Once Harvesting and Luck are started, put level-ups into the build’s damage stat and Attack Speed. |
| Die to elites with melee | Brawler and other short-range melee characters need Life Steal and Dodge close to the cap before the elite waves. |
| Healing wasted | Fruit and crates left on the ground are collected at the end of the wave anyway. At full HP, leave them until you need the healing. |
| Too few materials for the late shops | Harvesting came too late. It gives the most when taken in the first waves. |
| Wave 20 lost while chasing the bosses | Winning only requires surviving the timer. |
| Shop keeps offering unwanted weapons | Danger 3 wins unlock bans; since 12 November you get an extra ban token every 4 waves up to wave 20. |
Harder characters
AdamsIdeas rates these Hard at Danger 5: Pacifist, Saver, Ghost, Explorer, Hunter, Arms Dealer, Streamer, Jack, Lich, Fisherman, One-Armed, Demon, Vagabond, Vampire and, from Abyssal Terrors, Captain. B the No-Self has a winning build for every character, including these. For Abyssal Terrors, AdamsIdeas rates Curious, Creature, Chef, Diver, Buccaneer and Ogre as easy.
After Danger 5, how to beat Nightmare covers the characters that hold up at +60% enemy stats, the fog and the projectile waves.
Sources
- Brotato + DLC!! - Danger 5 Runs and Tips (All Characters) +UPDATES (B the No-Self, Steam guide)Danger 5 wins for every character, posted August 2023 and updated 5 November 2026. Most character sections predate Update 1.2.
- Beginners/Achievement Guide - How To Win As Every Character (+D5 Tips) (AdamsIdeas, Steam guide)Easy/Medium/Hard rating for each character, shop rules, item list and elite patterns. Updated 12 February 2026, before Update 1.2.
- Brotato: How to Beat Difficulty 5 / Danger 5 (Common Sense Gamer)Per-character Danger 5 notes credited to Reddit user Zabuzan; modified September 2024. The comments point out that Demon is locked until a Danger 5 win.
- Balancing Patch (Steam, 12 November 2026)Current version. No changes to the characters recommended here; weapon balance is promised for a later patch.


