
To enable automatic Slayer target switching, open Combat → Slayer Masters, choose a master and find Enable Auto Slayer on the right-hand panel. Buying a Slayer Loadout does not switch this feature on.
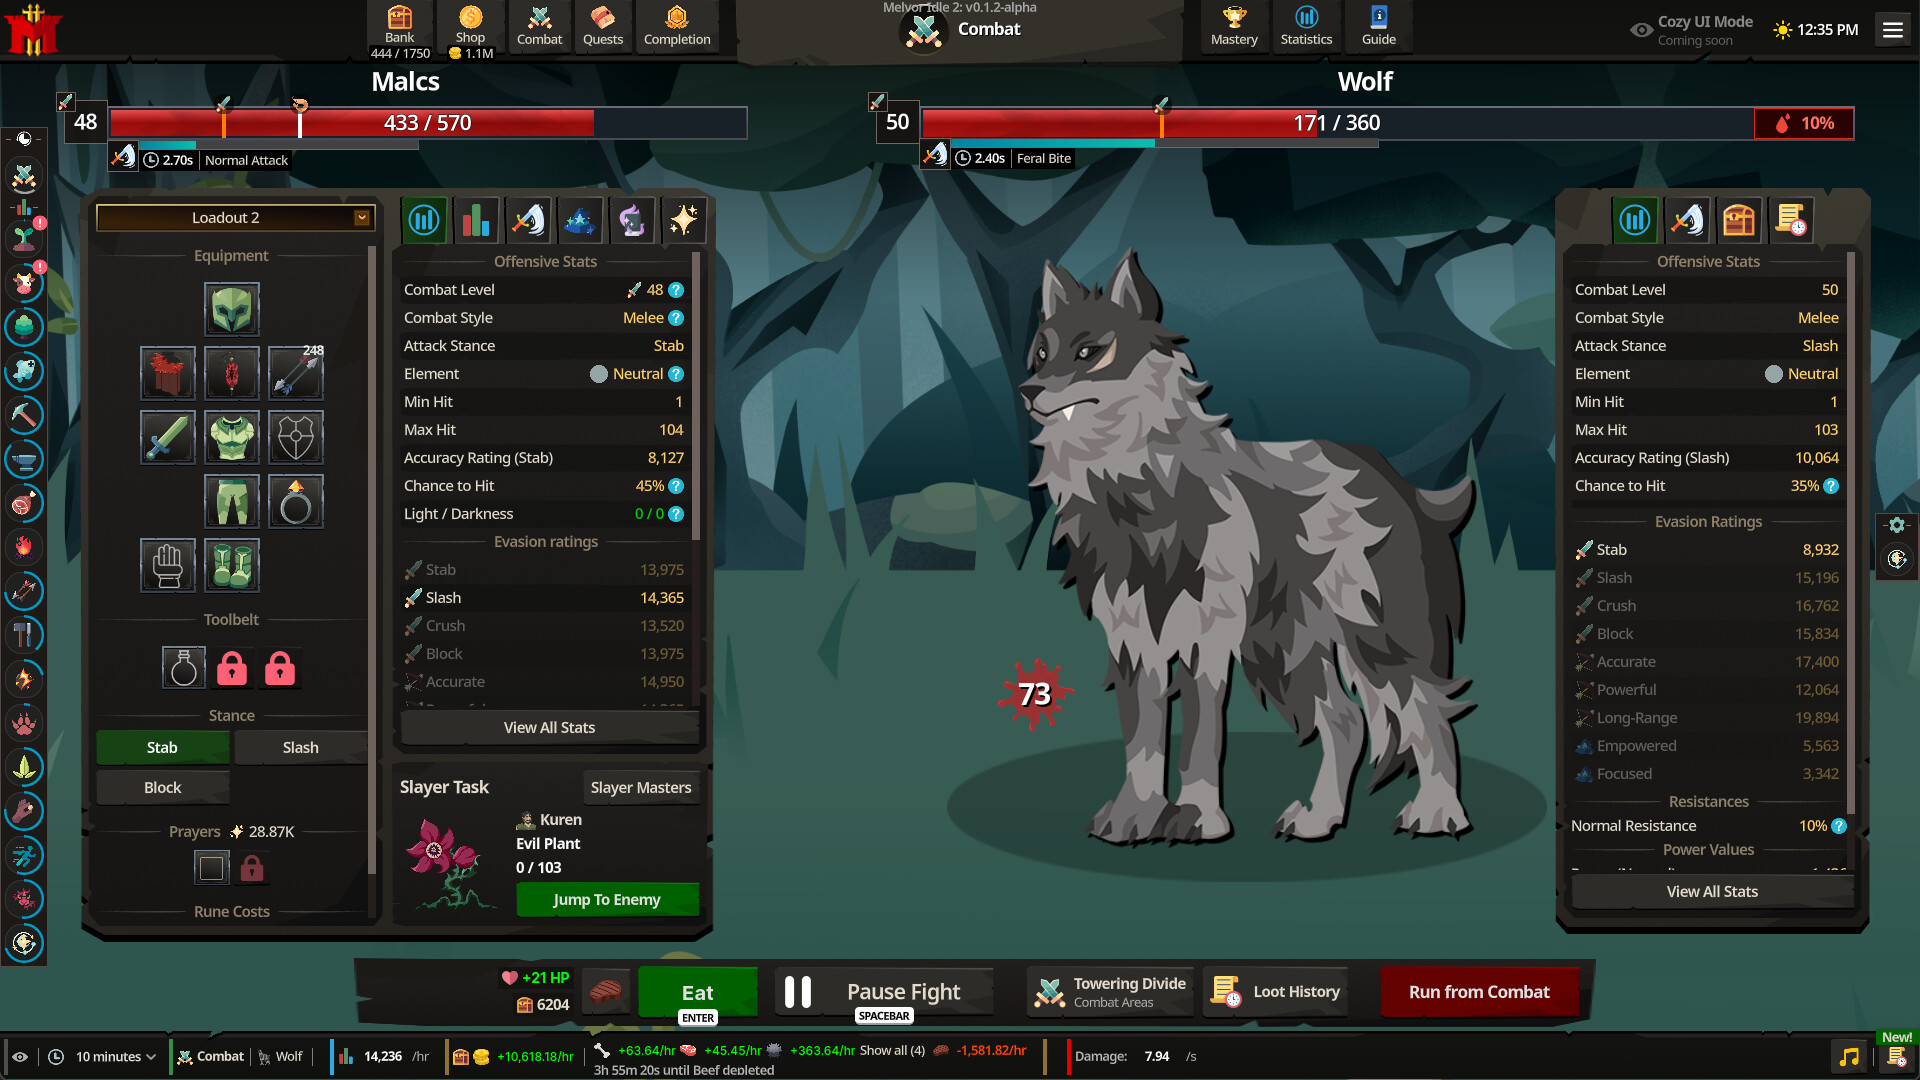
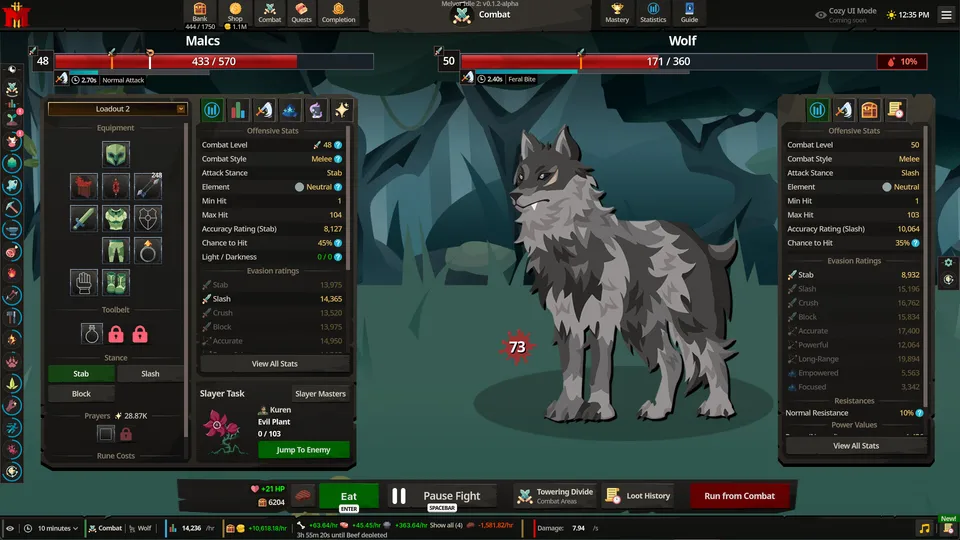
Start on the assigned target
A master assigns a particular enemy and a kill count. Fight that target so kills advance the task. When the task finishes, another task is assigned. With Auto Slayer enabled, combat can move from the finished task to the new target while you are fighting in the task area.
Before walking away, watch a task complete and confirm that the next assigned enemy actually becomes the target. That catches a wrong active enemy or a disabled control before a long session.
Check every possible enemy’s damage
Automatic switching changes what you fight. A setup that survives the first enemy can fail against another enemy in the master’s pool. Check food, incoming maximum hits and special effects for the stronger targets before using Auto Slayer unattended.
The food and Auto Eat guide explains why holding food does not protect against a hit that kills before healing.
Rewards arrive with task kills
Slayer XP and coins are paid on eligible kills; task completion is not a separate large payout. If you are comparing short and long tasks, account for what the individual enemies pay and how quickly your setup can defeat them.
| Control | Consequence |
|---|---|
| Reroll | Pay for another assignment; the same enemy can be selected again |
| Extend | Pay to add the master’s base task length, once for that task |
| Block | Exclude an enemy from later assignments while it occupies a block slot |
| Enable Auto Slayer | Allow combat to follow the next assignment under the switching conditions |
Blocking an enemy does not cancel an assignment already in progress. Replacing an occupied block slot also releases the enemy that slot previously held.
Where the purchased loadout went
Open the menu above Combat’s equipment slots. The extra loadout is stored there, not as an item in the bank. Inspect which gear is fitted before selecting it. Toolbelts and loadouts separates combat equipment from each non-combat skill’s slots.
The public 0.11.4 update prevents Slayer Masters from rolling demo-locked enemies and clears an invalid locked selection on load. A task blocked by that older bug is different from an enemy whose ordinary access requirement remains unfinished.
For Murkwoods and Weaver Gloves, the light and equipment route gives the area’s 36 Darkness requirement, the Copper Slayer Permit gate and combinations that leave a lantern slot free.
Sources
- Demo 0.11.4 item and equipment factsEquipment slots, consumables and numeric item effects in Demo 0.11.4. Item definitions and acquisition conditions are separate fields.
- Auto Slayer control locationPlayers identify Combat, Slayer Masters, a selected master and the right-side Enable Auto Slayer control.
- Slayer task mechanicsSecondary reference for interface control locations; numeric definitions are listed separately above.