How to beat the hardest bosses: Dagoom to the Blood Angel Lords
The story bosses that stop the most players are Dagoom (51.9% of Steam players have beaten him), Poenir and Duenir (27.3%) and Josami Lord Saijha (17.3%). The optional Blood Angel Lords have the highest Life and ATK outside the 9,999-Life fights. There is no block or dodge roll (only the Spiked Buckler parries), so each plan below combines a weapon that matches the weakness, Wind Dash for the attack you cannot walk away from, and cures for the fight’s status effect.
Life and ATK are bestiary values listed by Queen’s Domain Map.
| Boss | Life | ATK | Weak to | Steam players |
|---|---|---|---|---|
| Dagoom the Sea King | 1,500 | 27 | None | 51.9% |
| The Necronomicon, each flesh form | 3,000 | 31 | Impact, Slash, Pierce by form | 40.3% |
| Poenir and Duenir | 940 and 2,300 | 50 and 44 | None | 27.3% |
| Josami Lord Saijha | 4,000 | 75 | None | 17.3% |
| Queen Siraatsu; Enraged; Soul of Sipeha | 2,600; 5,000; 9,999 | 60; 85; 140 | None | Ending 1: 13.2% |
| Usunha and Wujomiod | 2,900 and 3,500 | 115 and 150 | None | 9.4% |
| Blood Angel Lords Yuumed and Woyeki | 6,000 and 5,000 | 160 and 190 | None | 10.2% |
| Herald of Okbujo | 9,999 | 150 | None | 12.6% |
Before any boss
- Save, do not rest, on the way in. Resting respawns the enemies between the monument and the arena. Copy your save folder before the queen and before any fight you might have to abandon; saves and performance has the path.
- Raise Life and attack first. Every Roasted Poultry adds maximum health and every Broiled Meat Attack Power; both sit under covered platters, many in secret rooms. Wear the Life Charm, the Protection Charm (+10% damage resistance in a fan list) and the Strength Charm (about +10% Attack Power). See food and levelling and accessories.
- Swing with a full stamina bar. The yellow bar sets each hit’s damage. One charged hit in a recovery window beats three weak swings.
- Use every throwing slot. Throwables recharge, so empty them during the boss’s long attacks.
Dagoom the Sea King
Four sources agree on the core plan: stay mobile with Wind Dash, kill the summoned fish fast, and carry poison cures. Clear the three Royal Orbewa Guards first with a Pierce weapon (Erda and Wami are weak to it) and restock afterwards, because their fights drain healing.
| Attack | What to do |
|---|---|
| Chin slam with a green energy wave | Jump and Wind Dash over the wave |
| Leap to the centre, poison around him, Toxic Serfs spawn | Dash through the serfs with a fully charged sword dash, or use the Splash Hammer’s area special |
| Second slam with purple poison waves | Needs two air dashes to clear |
| Current circling the arena | Stay near the middle and jump-dash away from the edge, where poison builds |
Output Lag says strikes to the back of his legs knock him down; Drewski says the legs are partly armoured and aims at the chin or tail instead. A spear or Torch reaches the chin from safer range. One player beat him at character level 19 using 3 Dry Herbs, 4 Fresh Herbs and 4 Roasted Ojum Lizards, which is a fair stock to bring. The Sacred Necklace from Umbada (+25% Poison resistance in a fan list) costs about 14 coins. Patch 1.01.04 removed a poison ring that stayed after the fight; save before entering because players have reported freezes.
The Necronomicon
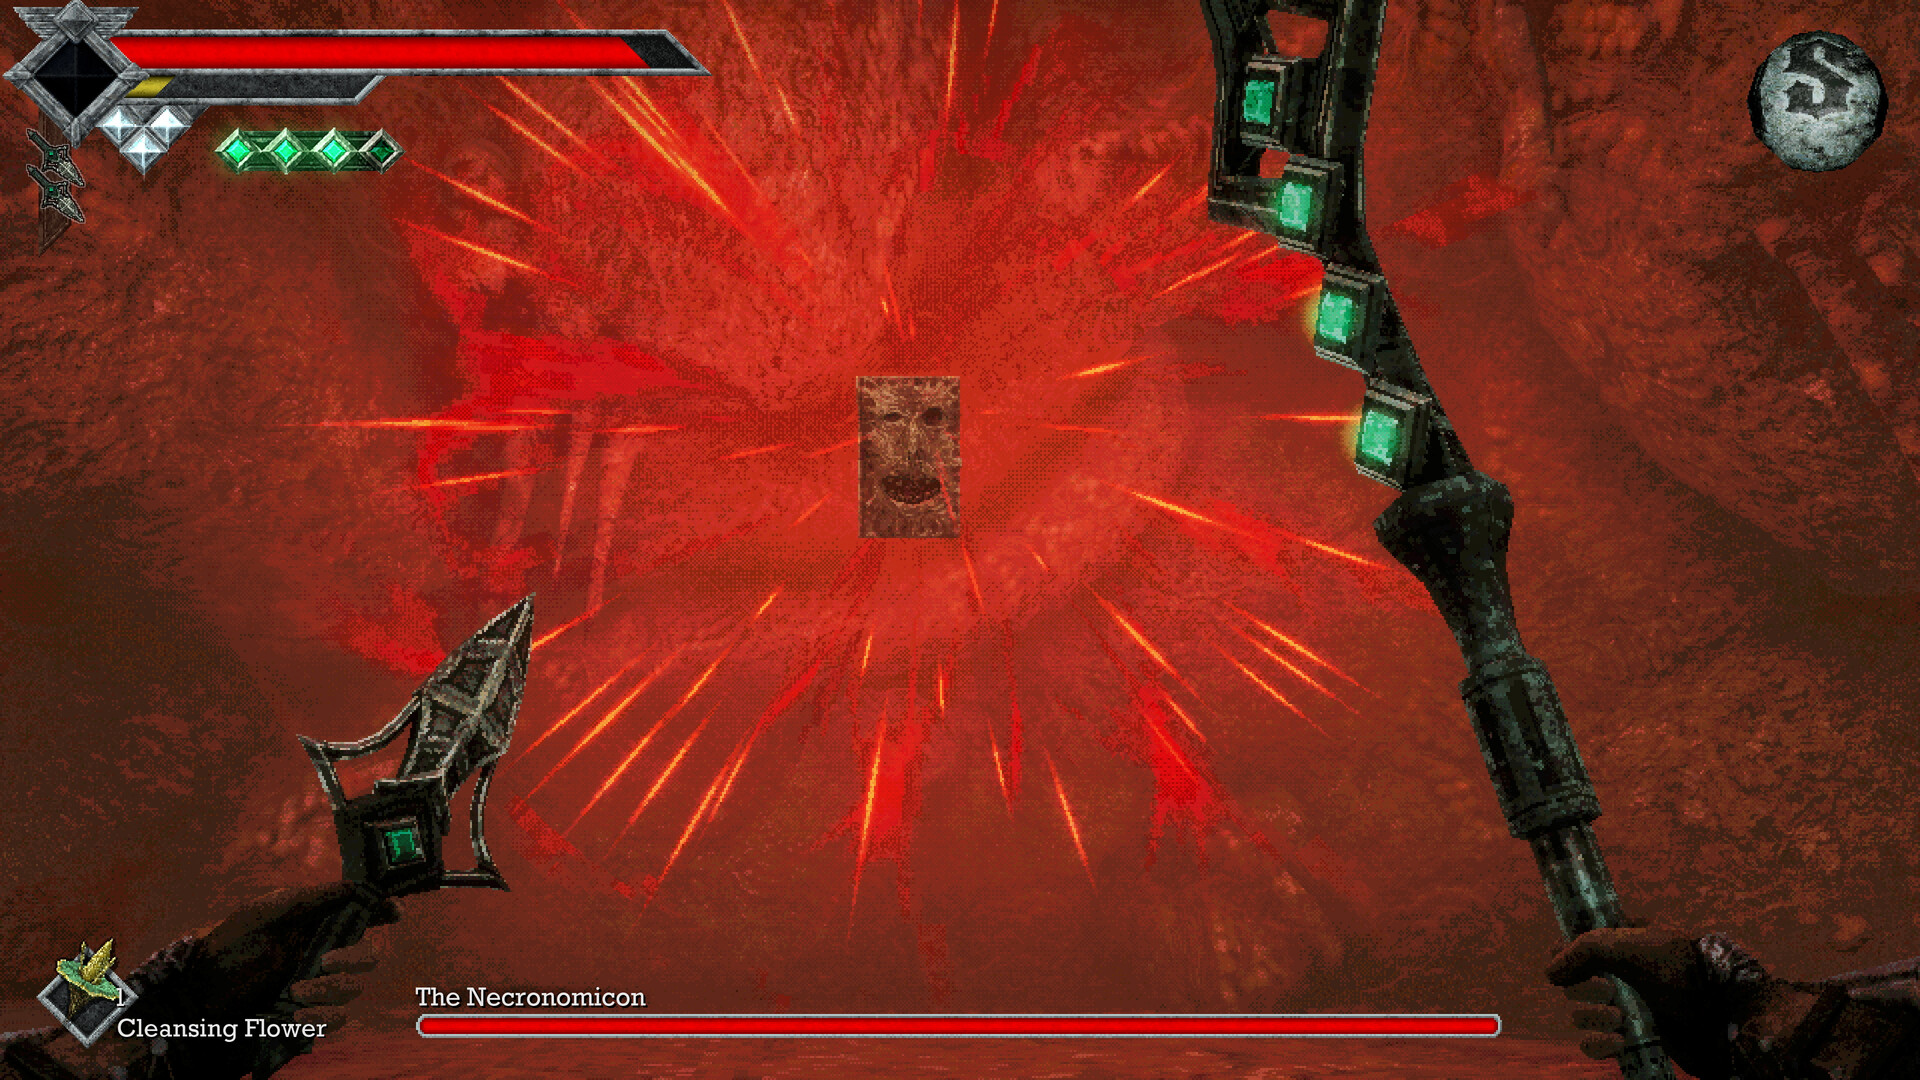
The book floats out of melee reach and casts Sticky and Binding, which block throwing and magic. Throw the homing Occult Knife, daggers and needles while it floats, burn it with the Azure Torch, and land a charged Slash when it drops to the floor. Its three flesh forms each have 3,000 Life and a different weakness: Necrotic Baphomet takes Impact, Eye of Balor Slash, and Bael Pierce. Carry one main weapon of each type and stay out of melee range when the goat-headed Baphomet rushes. Bring Cleansing Flowers for Binding. On the climb, kill the Manticores and save without resting so they stay dead.
Poenir and Duenir
Poenir, the bat, has 940 Life and hits for 50; Duenir on the ground has 2,300 and hits for 44. Kill Poenir first in short openings with throwables and quick swings, and kite Duenir rather than trading hits with both. Keep moving and Wind Dash for space when they attack from two directions at once. Do not back into the entrance tunnel at the start: Poenir can get stuck on the ceiling, a pillar or the doorway, and only a reload frees it. One player reports the ground boss sinking into the floor in a way that reloading and teleporting did not fix, so back up the save before entering. Patch 1.01.06 rebalanced this fight, so write-ups from launch week describe a harder version.
Josami Lord Saijha
The bridge guardian has 4,000 Life and 75 ATK, and its giant laser passes through pillars and other cover. Move out of the beam’s line instead of hiding. Keep a ranged weapon or full throwing slots for the moments you are repositioning, then take one short melee punish after each committed attack and back off.
Siraatsu Castle and the queen
Each Foyer ring is a two-enemy fight with different weaknesses, so bring Slash, Impact and Pierce weapons and switch targets to whichever enemy commits.
| Encounter | Enemies, Life and ATK, weakness |
|---|---|
| Castle Lords | Duke Obetda 1,200, 109, Slash; Duchess Ubhaer 1,700, 82, Impact |
| Dekanima Ritual of Blood | Ritual Blood Tauropod 400, 72, Impact; Ritual Blood Stalker 350, 103, Pierce |
| High Spec Automatons | Drilling Unit X 1,300, 91, Pierce; Besom Cutter Pro 1,800, 68, Slash |
In each pair, killing the lower-Life enemy first leaves a single-enemy fight: Duke Obetda (1,200), the Ritual Blood Stalker (350) and Drilling Unit X (1,300). The Duke’s 109 ATK is the highest in the castle before the queen.
Queen Siraatsu has 2,600 Life and no weakness. Stay at range during her unsafe patterns and take short openings. The weapon that wins decides the ending: with True Holy Sword Akunra she returns as Enraged Queen Siraatsu (5,000 Life, 85 ATK), and with Okbujo’s Judgement the Soul of Sipeha follows (9,999 Life, 140 ATK). Use the ending weapon for the whole fight, including the final blow.
Optional bosses
- Usunha and Wujomiod: two dragons at once, 2,900 and 3,500 Life, with Wujomiod’s blue fire hitting for 150. Use the arena to separate them, keep the more aggressive one in view and save healing for moments when both attack. The reward is the Altar of Purification for Akunra.
- Blood Angel Lords: 6,000 and 5,000 Life with 160 and 190 ATK, the hardest hitters below the Soul of Sipeha. Both hit harder than the Herald (150) and the queen’s enraged phase (85), so fight them after the castle with the Life dishes eaten and the Protection Charm on.
- Herald of Okbujo: 9,999 Life and 150 ATK at the top of the Record of Sin. Talk to it after the kill for the Memento Mirror, needed for Okbujo’s Judgement; patch 1.01.04 fixed a death animation that made this hard.
Every boss, with its route and rewards, is in the boss list. Weapon choices for each fight are in best weapons by area and boss.
Sources
- Queen's Domain Map, boss listLife, ATK and weakness for every boss form from bestiary entries.
- Output Lag, bosses in order (updated 10 Nov, patch 1.01.02)Dagoom leg knockdown, Necronomicon ranged approach, Poenir ceiling bug, Josami laser through cover.
- Drewski's Spoiler Free 100% Walkthrough (Steam guide)Dagoom's four attacks and how to avoid each; Royal Orbewa Guards; Shrine Guardian charge.
- Steam discussion, Dagoom, wtf?! (13 replies)Wind Dash out of poison, Splash Hammer for adds, Sacred Necklace, a level-19 kill using 3 dry herbs, 4 fresh herbs and 4 lizards.
- TPose Gaming, boss list and strategiesEarly boss strategies.
- Steam discussion, Poenir and Duenir spider sinks into the floorFight bug report.
- Steam global achievement statisticsShare of players who beat each boss.
- Official patch notes 1.01.04 and 1.01.06Dagoom poison ring fix; Poenir and Duenir rebalance.