
Quick reference
Choose a loot circuit that ends near the bus and prepare fuel before the last detour. Secret Sauce changes fuel and departure speed; Teleporter returns to the bus only at night after all fuel has been collected.
- Route choice
- The path back through enemies matters as much as the distance to the next container.
- Near-full bus tactic
- Preparing fuel before gathering more experience nearby shortens the final departure, but delaying still adds risk.
- Secret Sauce
- Reduces daily fuel requirements and speeds bus departure.
- Teleporter
- Normally targets unlooted loot; at night, once all fuel is collected, it targets the bus.
- Sauce drawback
- Its selector deactivates marked Food, including affected Banana and pumpkin character items.
What to do
- Plan the last containers along an approach that returns toward the bus.
- Finish the fuel objective and leave while that approach remains open.
- Reject a final box that requires crossing a crowd just because it is geographically close.
- If a detour relies on Teleporter, confirm both its nighttime and fuel conditions first.
Useful equipment and guides

Ordinary loot and immediate combat power
You are on a scavenging map and the stash contains promising equipment.
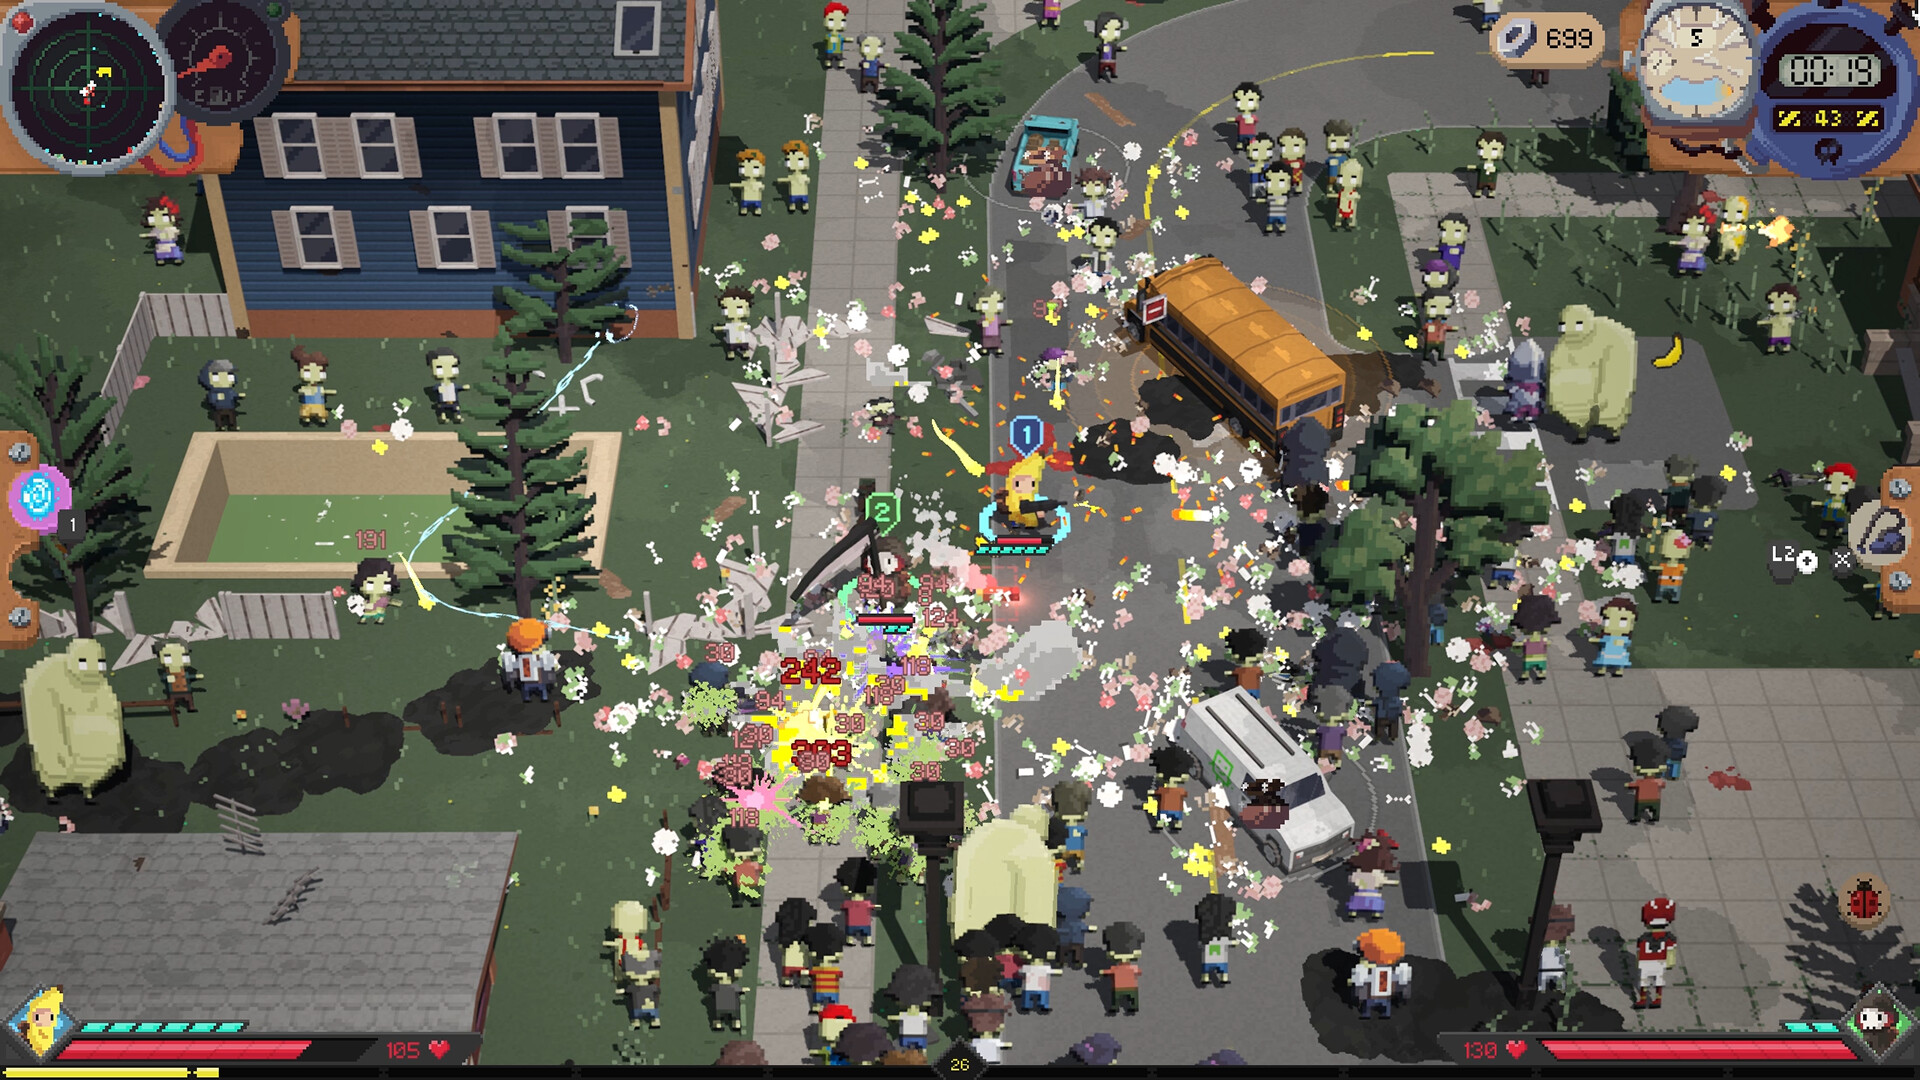 Collect fuel
Prepare the bus route before a distant optional detour.
 Stash is not active
Scavenged equipment does not help the current attack until equipped.
 Rebuild between stops
Extract to arrange the active bag and inspect the next craft.
A promising stash cannot keep an unsafe late map under control. Leave when the return route is still usable.
Routes back to the bus
Choose a container route that curves back toward the vehicle. Finishing on the far side of a growing crowd makes the last return harder. Jolly describes this approach in an Early Access guide after repeatedly losing runs by staying too long.
For a new run, complete the fuel objective and leave while the approach is open.
Fueling before the last detour
Jolly recommends bringing fueling close to completion, then gathering more experience near the bus. Commenters found the preparation useful, but the delay adds risk. Don’t keep looting if enemies already block the approach. Prepare the bus early enough that the final return is short.
Secret Sauce and Teleporter
Secret Sauce reduces daily fuel requirements and speeds departure. Its selector also disables marked Food, so keep it clear of character items such as Special Banana or The Carver’s Grin.
Teleporter normally takes you to an unlooted loot spot. At night, after all fuel is collected, it instead takes you to the bus. Before those conditions are met, plan to reach the bus on foot.
Judge a box by the path back as well as its distance. A nearby container across a crowd may cost more than a farther one along open ground. If the detour depends on Teleporter rescuing you, confirm its destination condition first.
Route cards and minimap markers
Compare Loot and Map Size together. More loot on a large map can demand longer travel before the bus is ready. If the current weapon struggles late at night, fuel availability and the return route can outweigh a richer destination. Look ahead at the destinations the branch will leave reachable, especially when searching for a Fields pumpkin event.
The Chinese map guide distinguishes blue loot points, yellow fuel and red-X airdrops. A reader corrects its crate description: crates and powerups use orange markers rather than the yellow fuel marker. Loot Radar can change the detail visible on the minimap, so use the current marker and tooltip together.
An airdrop can improve the active bag during the map, though since patch 1.0.3 it no longer offers bags once every backpack is fully expanded, and an airdrop with nothing to offer no longer blocks the next reward; ordinary scavenged equipment enters storage. A promising weapon in the stash cannot cover the next reload until you reach a preparation opportunity and equip it.